A laser cutter that produces clean, sharp parts all day is one of the most profitable machines in a fabrication shop. A laser that leaves dross on the bottom edge, burrs along the cut or parts that don’t separate from the sheet is one of the most frustrating. Defects waste material and machine time, and they add secondary finishing work that eats into your margin.
The good news is that most laser cutting defects come from a short list of causes: assist gas, focus position, cutting speed, power, nozzle condition and optics. This guide explains how to identify dross, burrs and incomplete cuts, find the root cause and fix it. At Kataria Tech Zone, we help fabricators set up and run their laser and CNC machinery, and these are the issues we see most often.
Quick Diagnosis Table
| Defect | Most Likely Causes | First Thing to Check |
|---|---|---|
| Dross (slag) on bottom edge | Wrong gas pressure, focus too high or low, speed too slow or fast | Assist gas pressure and focus position |
| Burrs on the cut edge | Speed too high, worn nozzle, low gas pressure | Nozzle condition and feed rate |
| Incomplete cut | Low power, speed too fast, dirty lens, clogged nozzle | Protective window and nozzle |
| Rough, striated edge | Unstable gas flow, focus drift, wrong speed | Gas supply and focus |
| Burn marks or heavy oxidation | Wrong gas for the material, too much heat input | Gas type and power settings |
Use this table as a starting point. The sections below explain each cause in detail.
What Is Dross in Laser Cutting?
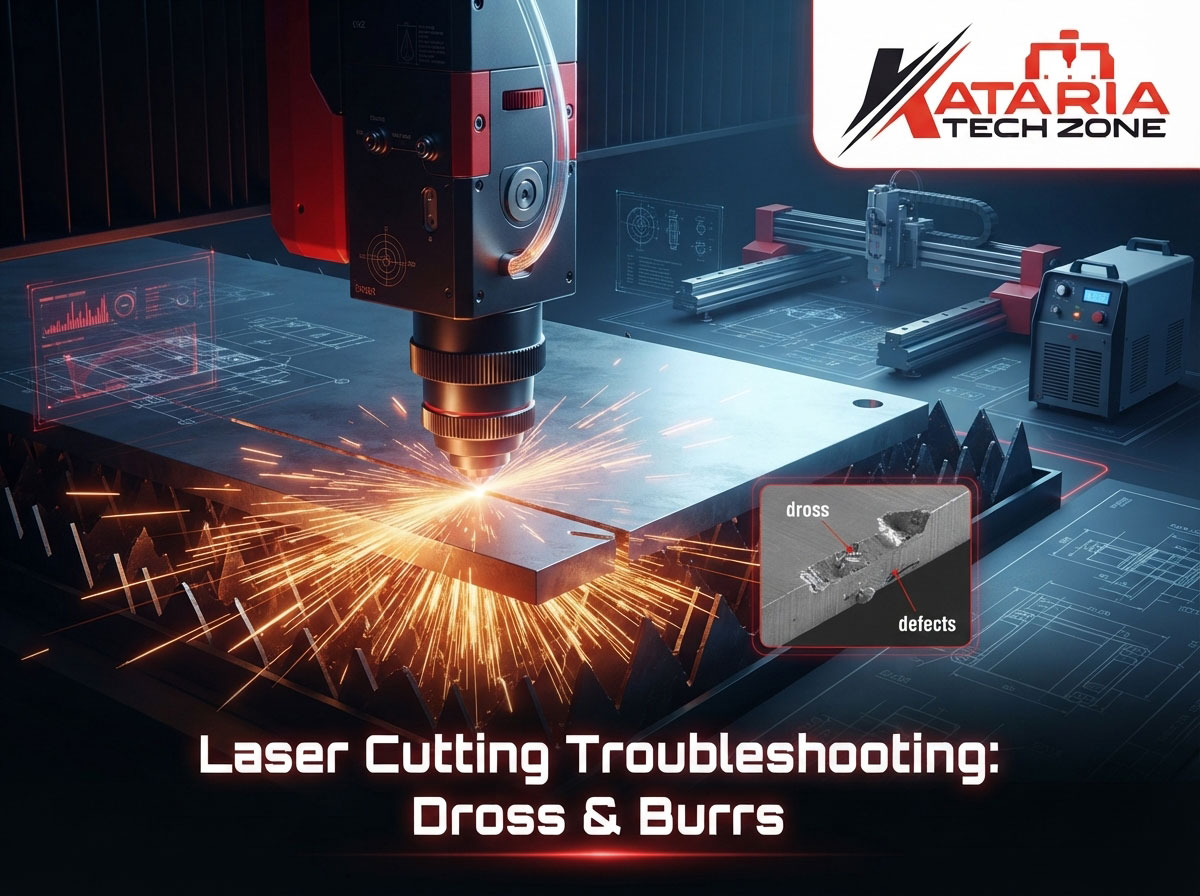
Dross, also called slag, is resolidified molten metal that clings to the underside of the cut. It looks like beads, droplets or a rough crust along the bottom edge. It forms when molten material isn’t fully blown out of the kerf by the assist gas before it cools.
Common Causes of Dross
1. Incorrect assist gas pressure. If pressure is too low, the gas can’t eject molten metal. If it is too high, turbulence at the nozzle can disturb the flow and leave residue.
2. Wrong focus position. The focal point controls where the beam is most concentrated. For thick material, the focus often sits lower inside the sheet. If it is off, the kerf shape changes and the molten material stays trapped.
3. Cutting speed out of range. Too slow, and excess heat melts a wider zone and creates heavy dross. Too fast, and the beam can’t fully melt through, leaving jagged residue at the bottom.
4. Worn or damaged nozzle. A deformed nozzle orifice disrupts the gas stream. Even a small burr inside the nozzle can cause uneven dross along one side of the cut.
5. Poor gas quality. Contaminated or low-purity gas affects the cut, especially nitrogen cutting on stainless steel and aluminum.
6. Dirty or surface-contaminated material. Rust, scale, oil and coatings change how the metal melts and can create inconsistent dross.
How to Fix Dross
- Confirm the gas type matches the material.
- Check pressure at the nozzle, not just at the regulator, because hose leaks or restrictions cause a drop.
- Run a focus test and adjust in small steps.
- Inspect and replace the nozzle if it shows damage or wear.
- Adjust speed in small increments, around 5 to 10 percent at a time.
- Clean the material surface if rust or oil is present.
What Causes Burrs on Laser-Cut Edges?
A burr is a small raised ridge of metal along the cut edge. Unlike dross, which mostly hangs from the bottom, burrs can form along the top or bottom edge and feel sharp to the touch. They usually need grinding or deburring, which adds labor and cost.
Common Causes of Burrs
1. Cutting speed too high. The beam doesn’t have enough dwell time to melt cleanly, so material is torn rather than cut.
2. Insufficient power for the thickness. Low power creates incomplete melting and rough edges.
3. Focus offset. A beam that isn’t focused correctly spreads energy and weakens the cut.
4. Nozzle problems. A worn, dirty or misaligned nozzle changes the gas flow and affects edge quality.
5. Low gas pressure. The gas can’t clear the kerf, so molten metal re-adheres as a burr.
6. Poor beam quality or dirty optics. A contaminated lens or protective window distorts the beam, leaving rough, burr-prone edges.
How to Fix Burrs
- Lower the cutting speed slightly and test again.
- Check and recenter the nozzle.
- Verify focus with a test cut on scrap.
- Clean or replace the protective window.
- Increase gas pressure within your machine’s recommended range.
- Confirm that the power setting matches the material thickness.
Why Do Incomplete Cuts Happen?
An incomplete cut leaves the part attached to the sheet in places, or the beam fails to penetrate the full thickness. It can appear randomly, in corners or along an entire cut path.
Common Causes of Incomplete Cuts
1. Low effective power. The laser may be set correctly, but dirty optics or a failing source reduce the power that reaches the material.
2. Cutting speed too fast. The beam moves faster than it can melt through.
3. Dirty protective window or lens. This is one of the most common hidden causes. Dust, spatter or oil on the optics absorbs energy and distorts the beam.
4. Clogged or damaged nozzle. Blockages restrict gas flow and affect penetration.
5. Incorrect nozzle height (standoff). If the nozzle sits too high or too low above the material, the cut quality and penetration both suffer.
6. Poor pierce quality. If the initial pierce doesn’t go fully through, the cut can stall before it begins.
7. Reflective materials. Highly reflective metals like aluminum, copper and brass need correct settings and a machine suited to them.
8. Cooling issues. Chiller problems can affect laser output stability.
How to Fix Incomplete Cuts
- Clean the protective window and inspect the focusing lens.
- Check nozzle condition and clear any blockage.
- Verify nozzle height with the machine’s calibration function.
- Reduce speed or increase power as required.
- Confirm chiller temperature and flow are within range.
- Review your pierce settings, especially on thicker plate.
The Five Core Parameters That Control Cut Quality
Most defects trace back to one or more of these five settings.
1. Laser Power
Match power to material type and thickness. Too little causes incomplete cuts and burrs. Too much causes excess heat, wide kerf and burn marks.
2. Cutting Speed
Speed has a narrow ideal window. Run test cuts and record the best settings for each material and thickness so operators can repeat them.
3. Focus Position
Focus changes with material, thickness and gas type. Recheck it after replacing a lens or nozzle, and whenever edge quality changes without an obvious reason.
4. Assist Gas Type and Pressure
This is the biggest factor for dross. Typical practice looks like this, but always follow your machine manual and cutting charts:
- Oxygen is common for mild steel. It adds heat through an exothermic reaction and helps cut thicker carbon steel, but leaves an oxidized edge.
- Nitrogen is common for stainless steel and aluminum. It produces a clean, bright, oxide-free edge but needs higher pressure and costs more.
- Compressed air can suit thinner material where cost matters more than edge finish.
5. Nozzle Type and Standoff Distance
Nozzle size, shape and distance from the sheet determine gas flow. Keep the standoff consistent and replace nozzles before they cause quality problems.
Assist Gas: The Most Common Source of Dross
If you only change one thing when chasing dross, check the gas first. Look for:
- Low cylinder or tank pressure. Pressure may drop under heavy use.
- Leaks in hoses and fittings. Even small leaks reduce pressure at the nozzle.
- Wrong gas for the job. Using oxygen on stainless can leave a dark oxidized edge.
- Moisture or contamination. Particularly with compressed air, install proper filtration and dryers.
- Regulator problems. A faulty regulator can cause unstable pressure.
You can read more about balancing cost and quality in our guide on nitrogen versus oxygen assist gas for fiber laser metal cutting: Nitrogen vs. Oxygen Assist Gas for Fiber Laser Metal Cutting.
Optics and Maintenance: The Hidden Cause of Poor Cuts
Dirty or damaged optics are among the most overlooked reasons for defects. Spatter and fine dust coat the protective window during every shift. Even a thin layer can reduce power and change the beam shape.
Daily and weekly habits that prevent defects:
- Inspect the protective window at the start of each shift.
- Clean optics using approved materials and methods only.
- Replace damaged or pitted windows right away.
- Check nozzles for deformation and spatter buildup.
- Monitor chiller temperature and coolant condition.
- Keep gas lines and filters clean.
For a complete routine, see our article on fiber laser maintenance: Fiber Laser Machine Maintenance: Protecting Optics, Nozzles, and Chillers.
Material Factors That Affect Cut Quality
Sometimes the machine is fine and the material is the problem.
- Surface condition: Rust, mill scale, paint and oil all change cutting behavior.
- Material flatness: Warped sheets change the nozzle standoff mid-cut, causing inconsistent edges.
- Thickness variation: Inconsistent sheet thickness makes a single parameter set unreliable.
- Alloy and grade: Different grades of stainless or aluminum respond differently. Always test a new batch.
- Reflectivity: Brass, copper and polished aluminum reflect the beam and can reduce cutting reliability.
A Step-by-Step Troubleshooting Workflow
When a defect appears, don’t change five things at once. Follow a repeatable process:
- Describe the defect precisely. Where is it on the part? Is it on one side or everywhere?
- Check the basics. Gas type, gas pressure, nozzle condition and optics cleanliness.
- Run a controlled test cut on scrap of the same material and thickness.
- Change one variable at a time. Adjust speed first, then focus, then pressure.
- Record what works. Keep a parameter library for each material and thickness.
- Check machine health. If settings that used to work no longer do, inspect the beam path, chiller and laser source.
- Call your supplier. If defects persist after basic checks, get technical support before running more scrap.
Preventive Checklist for Cleaner Cuts
- [ ] Inspect the protective window every shift
- [ ] Check the nozzle for damage and spatter
- [ ] Confirm gas type and pressure
- [ ] Verify focus after any optics change
- [ ] Use a documented parameter library
- [ ] Keep material clean and flat
- [ ] Monitor the chiller
- [ ] Train operators on basic troubleshooting
- [ ] Schedule routine servicing
When Should You Consider a Machine Upgrade?
Sometimes defects are a sign that the machine no longer fits the work. Consider an upgrade if:
- You cut thicker material than the machine was designed for
- Frequent defects continue even with correct maintenance
- Production volume has outgrown the machine’s speed
- You need to cut reflective metals reliably
- Maintenance costs and downtime are rising
If you’re deciding between technologies, our comparison of fiber laser and CO2 laser cutting for metal fabricators explains the differences in speed, running cost and material suitability: Fiber Laser vs CO2 Laser Cutting: Which Machine Should Metal Fabricators Buy?
Explore Machines From Kataria Tech Zone
Kataria Tech Zone supplies CNC and woodworking machinery for workshops and factories across a range of applications. Browse our machines:
For more guides, visit our Kataria Tech Zone blog.
Frequently Asked Questions
What causes dross when laser cutting stainless steel?
The usual causes are incorrect nitrogen pressure, wrong focus position, a worn nozzle and incorrect speed. Check gas pressure at the nozzle first, then run a focus test.
How do I remove burrs from laser-cut parts?
The best fix is to prevent them with correct speed, focus and nozzle condition. For parts already cut, tumbling, grinding or manual deburring can remove them, but this adds time and cost.
Why does my laser cut start well but not cut through in some areas?
This often points to a dirty protective window, clogged nozzle or inconsistent sheet flatness. Corners can also fail if the machine decelerates and the power isn’t adjusted for the change in speed.
Does nozzle size affect cut quality?
Yes. Nozzle diameter controls gas flow and pressure at the cut. The right size depends on material, thickness and gas type, so follow your machine’s cutting chart.
How often should I replace laser nozzles and protective windows?
It depends on usage, material and cleanliness. Inspect them every shift and replace them as soon as you see damage, heavy spatter or declining cut quality.
Is oxygen or nitrogen better for laser cutting?
Neither is better in every case. Oxygen suits mild steel and thicker carbon steel. Nitrogen gives clean, oxide-free edges on stainless steel and aluminum but costs more.
Conclusion
Dross, burrs and incomplete cuts are frustrating, but they are rarely mysterious. In most shops, the cause is one of five things: assist gas, focus, speed, nozzle condition or dirty optics. Work through them in order, change one variable at a time and keep a record of what works.
The shops that get consistently clean cuts treat maintenance and parameter control as part of production, not as an afterthought. If you need help choosing or setting up machinery for your workshop, the team at Kataria Tech Zone is ready to help. Explore our machines or read more on the blog.