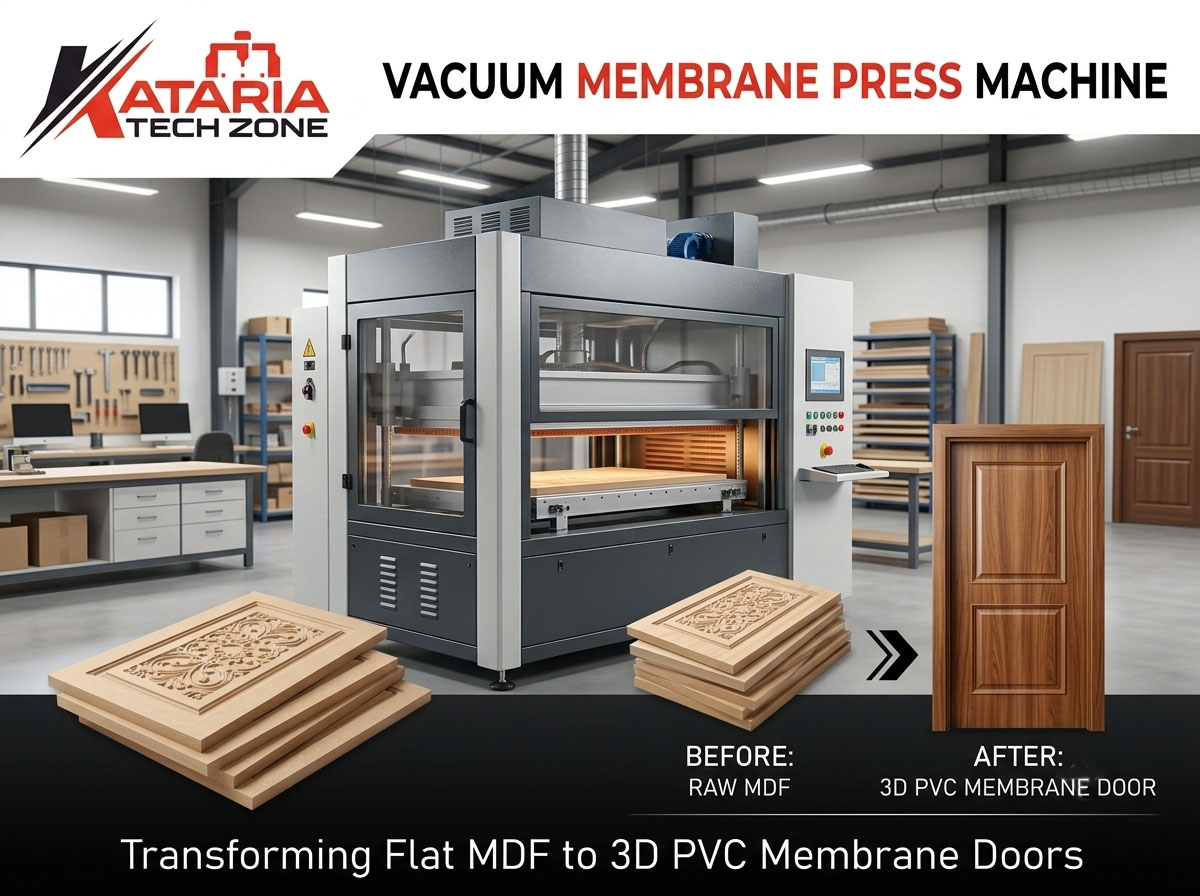
Walk into any modern modular kitchen showroom and look closely at the cabinet shutters. Many of the smooth, seamless doors with softly curved edges and routed grooves are not solid wood and not laminate. They are MDF panels wrapped in a thin PVC membrane using a vacuum membrane press.
This process turns an ordinary flat MDF board into a finished 3D door in a single pressing cycle. There are no visible edge-banding joints, and the wrap covers curves, grooves and profiles that no flat laminate could follow.
If you run a furniture workshop, a modular kitchen factory or a door manufacturing unit, understanding this technology can open a high-demand, high-margin product line. At Kataria Tech Zone, we work with manufacturers who want to move from basic panel work to premium finished doors. This guide covers how the process works, why it sells, what you need alongside the press, and how to choose the right machine.
What Is a Vacuum Membrane Press Machine?
A vacuum membrane press is a machine that uses heat, vacuum suction and a flexible membrane to bond a thin PVC foil onto a shaped MDF panel. The foil is heated until it softens, then drawn tightly over the panel by vacuum pressure so it follows every contour, groove and edge.
An adhesive pre-applied to the panel (usually a water-based or PU-type glue sprayed onto the surface) activates under heat and bonds the foil permanently. The result is a one-piece, seamless, wrapped surface.
You can explore our range on the Vacuum Membrane Press Machine category page.
Why PVC Membrane Doors Are in High Demand
Several market shifts have made membrane-pressed doors one of the fastest-growing products in furniture manufacturing.
1. Seamless, premium appearance. The foil wraps the face and edges together, so there are no glue lines or edge-banding joints to peel or collect dirt.
2. Design freedom. Because the surface is routed before pressing, you can offer raised panels, shaker styles, classic profiles and modern grooves from the same base material.
3. Wide finish range. PVC foils come in solid colours, high-gloss, matt, wood-grain and metallic finishes, so one machine serves many design trends.
4. Moisture resistance on the surface. The sealed membrane protects the MDF face from kitchen steam and splashes better than raw or painted MDF. (Edges and backs should still be sealed and protected from standing water.)
5. Cost-effective compared with solid wood and spray paint. Membrane doors deliver a high-end look without the cost of solid timber or the labour, dust and cure time of multi-coat PU painting.
6. Consistent, repeatable quality. Machine-controlled temperature, vacuum and pressure give uniform results across batches, which matters for large kitchen and wardrobe orders.
How Flat MDF Becomes a 3D Membrane Door: Step by Step
Here is the typical production workflow from raw board to finished door.
Step 1: Cut the MDF to Size
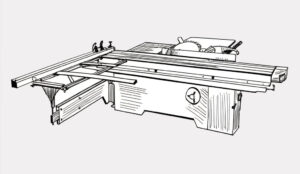
Start with MDF boards cut to door dimensions. A precise panel saw matters here, since square, accurate blanks make every later step easier. If you’re deciding which saw suits your volume, our guide on how to choose between a vertical and horizontal panel saw can help.
Step 2: Route the Design with a CNC Router
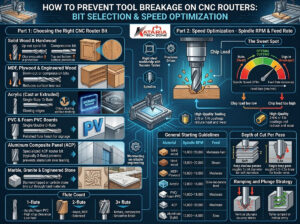
This is where the “3D” in a 3D door begins. A CNC router machine cuts grooves, raised panels, shaker recesses, handle cut-outs and edge profiles into the MDF. Clean routing is essential, because the membrane will reveal every flaw underneath it. Sharp tools and good dust extraction protect surface quality, and a regular upkeep routine such as our daily, weekly and monthly CNC router maintenance checklist keeps cuts crisp.
Step 3: Sand and Clean the Panel
Lightly sand routed edges and profiles, then remove all dust. Dust trapped under the foil shows up as bumps on the finished surface.
Step 4: Apply Adhesive
Spray an even coat of membrane adhesive on the face and routed areas. Coverage must reach the grooves and edges; dry spots are a common cause of lifting later. Allow the adhesive to flash off as the manufacturer recommends.
Step 5: Load Panels onto the Press Bed
Place the panels on the machine’s pressing table, usually with spacing between pieces so the foil can stretch evenly. Many workshops use a backing sheet or tray layout to keep small parts stable.
Step 6: Position the PVC Foil
Lay the PVC film over the panels. The foil must be large enough to cover all pieces and be clamped by the machine’s frame.
Step 7: Heat, Vacuum and Press
The press closes, heating the foil until it becomes flexible. The vacuum then pulls the softened foil tightly over every surface of the panels. In membrane presses, a flexible silicone or rubber membrane (or air pressure above) helps push the foil firmly into the contours while the adhesive activates.
Step 8: Cool, Release and Trim
After the cycle, the panels cool slightly and are removed. Excess foil is trimmed from the edges with a trimming knife or router, leaving a clean, finished door.
Step 9: Quality Check and Packing
Inspect for bubbles, lifting at corners, wrinkles, glue marks and colour consistency, then pack with edge protection.
Key Components of a Vacuum Membrane Press
Knowing the main parts helps you compare machines intelligently.
- Upper and lower chambers: Create the sealed space where vacuum and pressure act on the foil.
- Heating system: Softens the PVC evenly. Uniform heating prevents thin spots and tearing.
- Vacuum pump: Its capacity affects cycle speed and how well the foil conforms to deep profiles.
- Silicone membrane or pressure system: Applies even force across complex shapes.
- Control panel: Lets you set temperature, vacuum time and pressure for different foils and designs.
- Table or trolley system: Faster loading and unloading improves daily output.
Choosing the Right Vacuum Membrane Press for Your Business
Machine selection should follow your production needs, not just price.
1. Bed Size
Check the maximum panel size you plan to make: kitchen shutters, wardrobe doors, full-height panels or wall cladding. A larger bed lets you press more pieces per cycle, which improves throughput.
2. Daily Output Target
Estimate how many doors you’ll make per shift. Single-chamber machines suit smaller shops, while larger or higher-capacity machines suit factory-scale production.
3. Profile Depth and Design Complexity
Deep raised-panel or heavily carved designs demand strong vacuum and good membrane flexibility. Flat or lightly grooved designs are easier to press.
4. Heating Quality and Control
Even heat distribution and accurate temperature control reduce rejects, especially with high-gloss foils that show every defect.
5. Build Quality and Spare Parts Availability
Ask about frame strength, vacuum pump quality, membrane lifespan and how quickly spare parts can be supplied.
6. Power Requirements
Confirm the machine’s electrical needs against your workshop supply. Our guide on single-phase vs three-phase machines for small woodworking shops explains the main considerations when planning your power setup.
7. Training and After-Sales Support
Good installation help, operator training and reliable service make the difference between a machine that earns money and one that sits idle.
You can review current models on our Vacuum Membrane Press category page or browse the full Kataria Tech Zone shop.
Common Membrane Pressing Problems and How to Avoid Them
Even experienced operators run into defects. Here are the most frequent ones.
Air bubbles under the foil. Usually caused by trapped dust, uneven adhesive or insufficient vacuum time. Clean panels thoroughly and check adhesive coverage.
Foil lifting at edges or corners. Often a result of dry adhesive spots, low temperature or edges that are too sharp. Slightly rounding routed edges improves grip.
Foil whitening or stretch marks on curves. The foil was overstretched or underheated. Adjust temperature and choose a foil suited to the depth of your profile.
Wrinkles or orange-peel texture. Caused by uneven heating or incorrect foil placement. Check heater uniformity and loading procedure.
Glue marks showing through gloss foils. Apply adhesive evenly and avoid over-spraying, especially with high-gloss colours.
Many of these problems relate to adhesion and trapped air, topics we cover from a related angle in our article on preventing air bubbles and delamination in cold press lamination. The principles of clean surfaces, even glue and correct pressure apply across both processes.
Vacuum Membrane Press vs Other Door Finishing Methods
| Method | Strengths | Limitations |
|---|---|---|
| Vacuum membrane press (PVC foil) | Seamless 3D wrap, many finishes, repeatable | Needs foil, adhesive and a press investment |
| PU/spray paint | Highly customisable colours | Slower, dust-sensitive, more skilled labour |
| Laminate with edge banding | Cost-effective for flat doors | Visible edge joints, no 3D profiles |
| Solid wood | Natural look and value | Expensive, can warp, limited consistency |
For flat panels where edge banding is suitable, an edge banding machine is the right companion. For 3D profiled doors, membrane pressing is usually the better route. Many successful workshops offer both, so they can serve budget and premium customers from one factory.
Planning Your Workshop for Membrane Door Production
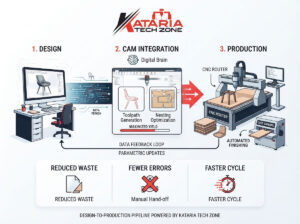
A vacuum membrane press works best as part of a logical production flow: panel cutting → CNC routing → sanding → gluing → pressing → trimming → packing.
Poor layout creates bottlenecks, such as panels waiting for the press or operators walking long distances with heavy boards. Our guide on how to plan the workshop layout for a modern modular furniture factory explains how to arrange machines for smooth material flow.
Also consider:
- Dust control in routing and sanding areas
- A clean, dry space for gluing and pressing
- Foil storage away from heat and humidity
- Adequate space for loading trolleys and finished-door staging
Business Opportunities with Membrane-Pressed Doors
Once you have a vacuum membrane press, you’re not limited to kitchen shutters. You can serve several markets:
- Modular kitchen shutters for builders and kitchen brands
- Wardrobe and cupboard doors
- Bedroom and living room furniture fronts
- Wall panels and decorative cladding
- TV units and display cabinets
- Commercial furniture for hotels, offices and retail
- Contract manufacturing for local carpenters and designers who don’t own a press
Contract pressing can create a steady revenue stream. Many small carpentry businesses prefer to outsource foil pressing rather than invest in the machine themselves.
For design inspiration beyond doors, see our post on innovative woodworking projects you can create with a CNC router.
Tips to Get the Best Results
- Use quality MDF. Uniform density gives clean routing and a smooth foil surface.
- Seal and protect raw edges and backs against moisture.
- Test new foils and designs on sample panels before running full batches.
- Keep foil rolls clean and properly stored.
- Maintain your vacuum pump and silicone membrane per the manufacturer’s schedule.
- Record your best settings for each foil type and profile.
- Train operators properly; consistent loading and trimming technique reduces waste.
Frequently Asked Questions (FAQs)
What is a vacuum membrane press used for?
It is used to wrap PVC foil or similar films over shaped MDF panels, creating seamless 3D doors, cabinet shutters, wall panels and furniture fronts.
Can a vacuum membrane press work on flat panels?
Yes, but the real advantage is wrapping routed, profiled or curved surfaces that flat laminating methods cannot cover.
What material is best for membrane-pressed doors?
MDF is the most common choice because it routes cleanly and gives a smooth surface for the foil.
Do I need a CNC router for membrane door production?
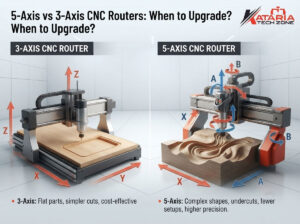
For 3D designs, yes. A CNC router creates the grooves and profiles that the membrane wraps over. For simple flat doors, it isn’t essential.
Are PVC membrane doors waterproof?
The PVC surface resists moisture, but MDF itself is sensitive to water. Edges, backs and cut-outs should be sealed, and doors should be protected from standing water.
How do I choose the right machine size?
Base it on your largest door size, daily output target and available workshop space.
Can I start a small business with a vacuum membrane press?
Yes. Many workshops start with kitchen and wardrobe shutters or contract pressing, then expand as demand grows.
Final Thoughts
A vacuum membrane press changes what a workshop can offer. By combining a CNC router for design, a panel saw for accurate cutting, and a vacuum membrane press for finishing, you can turn plain MDF into premium, seamless 3D doors that command higher prices and win repeat customers.
The key is to match the machine to your products, build a clean production flow and focus on consistent quality.
At Kataria Tech Zone, we help woodworking and furniture manufacturers choose the right machinery for their goals. To discuss your requirements, visit our website, explore the blog, or call +91-9878832923.
Ready to start making membrane doors? Contact Kataria Tech Zone today for machine details and expert guidance.