If you’ve ever pulled a freshly banded panel off the line and spotted a hairline gap in the glue joint — or run your thumb across an edge that feels more like sandpaper than a finished product — you already know how costly a poorly set up edge bander can be. Rejected panels, wasted PVC or ABS tape, and rework hours add up fast, especially in high-volume production.
The good news: glue line gaps and rough cuts are almost never caused by a “bad machine.” In more than 90% of cases, they come down to a handful of setup variables — glue temperature, pressure roller tension, feed speed, and trimmer alignment — that have drifted out of range. This guide walks through the exact setup sequence for an automatic edge banding machine, then breaks down the troubleshooting steps to eliminate the two most common complaints in edge banding: glue line gaps and rough, chipped, or uneven cuts.
Whether you’re running a fully automatic edge banding machine on a production floor or a compact auto edge banding machine in a growing workshop, the principles below apply across brands and models.
Why Correct Setup Matters More Than the Machine Itself
An edge banding machine performs a sequence of coordinated operations in seconds: feeding the panel, gluing the tape, pressing it onto the edge, trimming the overhang (rough and fine), scraping excess glue, and buffing the finished surface. Each stage depends on the one before it. If the glue application is off by even a few degrees, the pressing stage can’t compensate — and the trimming units will struggle to cut cleanly through an unevenly bonded edge.
That’s why setup discipline matters more than brand or price point. A mid-range machine that’s correctly calibrated will consistently outperform a premium machine running on default factory settings that were never adjusted for your specific board material, tape type, and shop temperature.
Step-by-Step Automatic Edge Banding Machine Setup
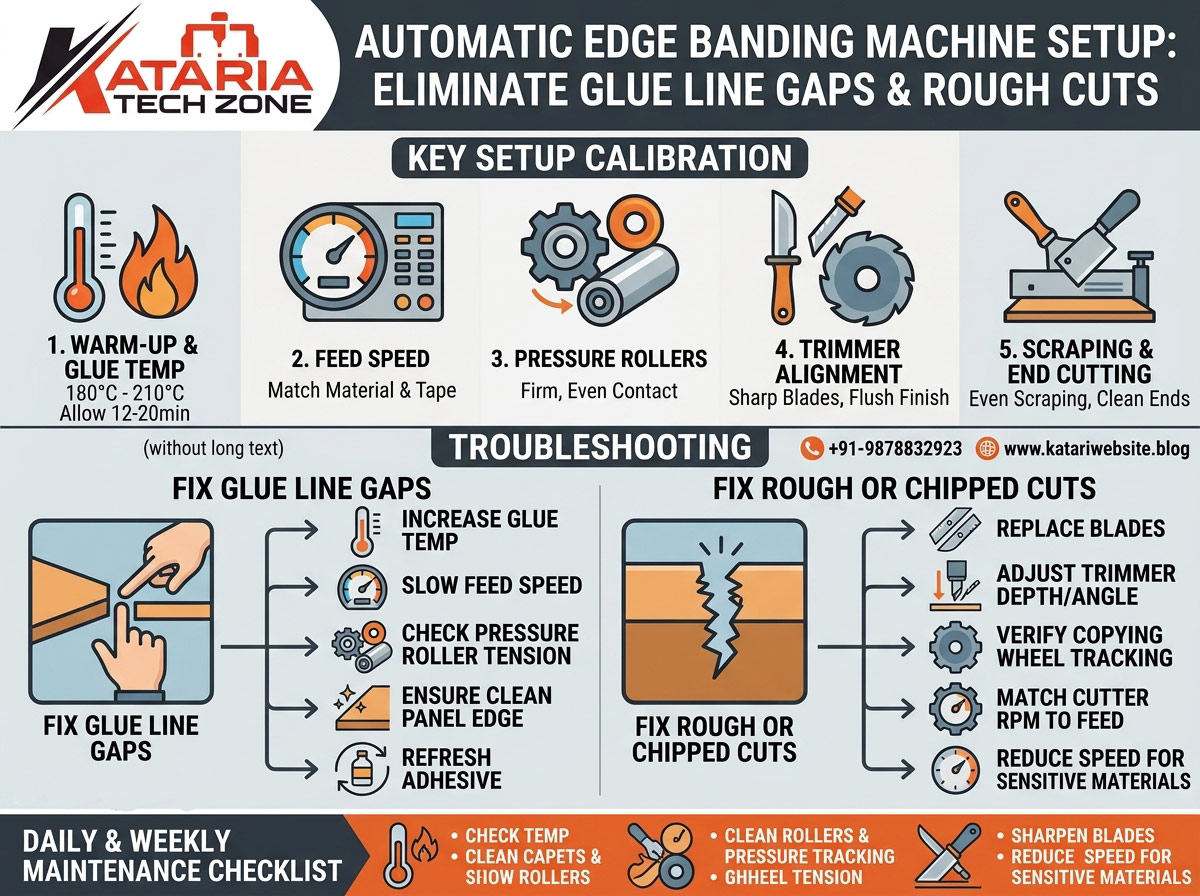
Before troubleshooting any defect, confirm your baseline setup follows this sequence. Skipping steps here is the single biggest reason operators end up chasing symptoms instead of fixing root causes.
1. Warm-Up and Glue Pot Temperature
Never run panels through a cold machine. Hot-melt adhesive (EVA or PUR-based) needs a stable, even melt to bond properly.
- Allow 12–20 minutes of warm-up time depending on ambient workshop temperature.
- Standard EVA glue typically runs best between 180°C and 210°C (356°F–410°F). PUR glue often requires a slightly different profile — always check your adhesive manufacturer’s data sheet.
- Confirm the glue pot’s internal temperature with an independent thermometer occasionally; digital display readouts can drift out of calibration over time.
2. Set the Correct Feed Speed for Your Material
Feed speed and glue temperature are directly linked. A faster feed speed needs proportionally hotter glue (or a higher-output glue pump) to maintain adhesion; a slower feed speed with the same temperature can over-cure the glue before pressing, causing weak bonds and gaps.
- Thin, flexible PVC tape on straight panels: mid-to-high feed speed (10–20 m/min on most automatic machines).
- Thicker ABS tape, solid wood veneer, or curved/curvilinear work: reduce feed speed to allow full glue transfer and pressure dwell time.
3. Calibrate the Pressure Rollers
The pressure rollers are what actually bond the tape to the panel edge after gluing. Insufficient pressure is one of the leading causes of glue line gaps.
- Rollers should apply firm, even pressure across the entire edge banding tape width — not just the center.
- Check for worn or glazed rubber on the rollers; hardened rubber loses grip and pressure consistency over time and should be replaced.
- Rollers must be parallel to the panel edge. Even a slight misalignment causes uneven pressure and localized gaps at one end of the panel.
4. Align the Trimming Units (Rough and Fine)
Most automatic and fully automatic machines use a two-stage trimming process — a rough trimming unit to remove bulk overhang, followed by a fine trimming unit for a flush, polished finish.
- Rough trimmer cutters should be sharp and set to remove the bulk of the overhanging tape without touching the panel surface.
- Fine trimmer cutters must sit flush against the panel edge with zero play — any looseness here directly causes rough, chipped cuts.
- Cutter angle and copying (tracing) wheel contact should be checked weekly on high-volume lines, as vibration gradually loosens these settings.
5. Check Scraping and End-Cutting Units
If your machine includes scraping or buffing stations, confirm the scraper blades are contacting the tape evenly along its full length. A scraper set too shallow leaves visible glue residue at the seam; set too aggressively, it can gouge the tape surface.
Troubleshooting: Eliminating Glue Line Gaps
A visible glue line gap — where you can see a thin dark line or feel a seam between the tape and the panel — is almost always one of these five issues.
Cause 1: Glue Temperature Too Low
Symptom: Tape lifts at the edges or corners; glue looks dull and doesn’t fully liquefy. Fix: Raise glue pot temperature in small 5°C increments and re-test. Confirm the heating element and thermostat aren’t faulty if temperature won’t stabilize.
Cause 2: Feed Speed Too Fast for the Glue Output
Symptom: Gaps appear consistently along the full length of the panel, not just at one spot. Fix: Slow the feed speed, or increase glue pump output if your machine has an adjustable glue roller/pump speed setting.
Cause 3: Insufficient or Uneven Pressure Roller Contact
Symptom: Gaps appear at one end of the panel or along one side only. Fix: Re-level and re-tension the pressure rollers; replace worn rubber rollers.
Cause 4: Panel Edge Not Properly Prepared
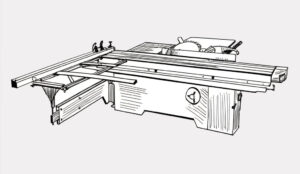
Symptom: Gaps follow the contour of a rough or uneven panel edge cut from an earlier sawing stage. Fix: Inspect the panel edge coming out of your panel saw — a wavy or chipped edge from cutting will telegraph straight through to the banded joint no matter how well the bander is set up. Clean, straight edges are non-negotiable for gap-free banding.
Cause 5: Contaminated or Expired Adhesive
Symptom: Inconsistent bonding across different panels even with stable settings. Fix: Old hot-melt glue that has been repeatedly reheated and cooled loses adhesive strength. Purge and refill the glue pot regularly rather than topping it up indefinitely.
Troubleshooting: Fixing Rough or Chipped Cuts
Rough cuts — chipping, tear-out, or an uneven trimmed edge — usually trace back to the trimming units rather than the gluing stage.
Cause 1: Dull or Damaged Trimmer Blades
Symptom: Visible tear-out or fuzzy edges on the trimmed tape, especially on melamine-faced or veneer panels. Fix: Inspect blades for nicks or dullness. Trimmer blades on high-volume machines typically need sharpening or replacement every few weeks depending on material hardness and daily run hours.
Cause 2: Incorrect Trimmer Depth or Angle
Symptom: Cuts are inconsistent — clean in some areas, rough in others. Fix: Re-calibrate trimmer depth so the cutter just clears the panel surface without digging in. Angle settings should match the tape thickness being used.
Cause 3: Copying Wheel Not Tracking the Panel Correctly
Symptom: Wavy, inconsistent trim line rather than a straight flush edge. Fix: Check that the copying (tracing) wheel maintains constant contact with the panel edge throughout the pass. Vibration or a worn wheel bearing is a common culprit.
Cause 4: Feed Speed Mismatched to Cutter RPM
Symptom: Burn marks alongside rough chipping — a sign the cutter is spinning too slow relative to feed speed, or vice versa. Fix: Adjust feed speed and trimmer motor RPM together; consult your machine’s material-specific settings chart if available.
Cause 5: Panel Material Sensitivity
Symptom: Rough cuts appear specifically on melamine, high-gloss, or brittle veneer panels but not on standard MDF. Fix: These materials are more prone to chipping. Reduce feed speed slightly and ensure trimmer blades are sharp — dull blades tear delicate surface layers instead of shearing them cleanly.
Daily and Weekly Maintenance Checklist
Consistent output starts with a maintenance routine, not just reactive troubleshooting. Keep this checklist near your machine:
- Daily: Confirm glue pot temperature at startup; clean excess glue from rollers and trimming units at the end of each shift.
- Weekly: Inspect and sharpen/replace trimmer blades as needed; check pressure roller alignment and rubber condition.
- Monthly: Purge and refill glue pot fully; check copying wheel bearings and belt tension; verify feed speed calibration against a test panel.
- Quarterly: Full mechanical inspection of pneumatic components, motors, and control system calibration.
Frequently Asked Questions
Q: What is the ideal glue temperature for an automatic edge banding machine? A: Most EVA hot-melt adhesives perform best between 180°C and 210°C, but always check your specific adhesive’s technical data sheet, as formulations vary by manufacturer.
Q: Why does my edge banding machine leave gaps only on one side of the panel? A: This is almost always a pressure roller alignment issue — one side of the roller assembly is applying less pressure than the other. Re-level the rollers and check for uneven wear.
Q: How often should trimmer blades be replaced? A: On high-volume production lines, every 2–4 weeks is typical. Lower-volume workshops may get several months from a set of blades. Sharpness matters more than a fixed schedule — inspect regularly.
Q: Can panel edge quality from cutting affect edge banding results? A: Yes, significantly. A rough or wavy cut edge from your panel saw will show through as an uneven glue line or trim, regardless of how well the edge bander itself is calibrated.
Q: Is it better to slow down the feed speed if I keep getting defects? A: Slowing feed speed is a reasonable first troubleshooting step, but it treats the symptom. Identify whether the root cause is temperature, pressure, or trimmer alignment, and fix that directly — slowing the whole line down permanently costs you throughput.
Final Thoughts
Glue line gaps and rough cuts are frustrating, but they’re also two of the most fixable problems in edge banding production. The pattern is almost always the same: start with temperature and feed speed, move to pressure roller alignment, then check trimmer calibration — and don’t overlook the quality of the panel edge coming into the machine in the first place.
If your current edge bander is consistently underperforming even after a full recalibration, it may be a sign the machine has reached the limits of its mechanical tolerances, or that it’s simply undersized for your production volume. At Kataria Tech Zone, we manufacture and support a full range of edge banding machines — from precision manual edge banders for smaller workshops to fully automatic edge banding machines built for continuous, high-volume production.
Related Machines from Kataria Tech Zone
- Edge Banding Machines (Full Category)
- Fully Automatic Edge Banding Machine
- Auto Edge Banding Machine
- Manual Edge Bander
- Panel Saw Machines
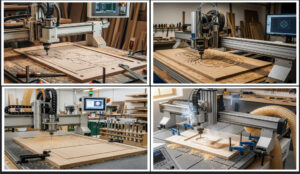
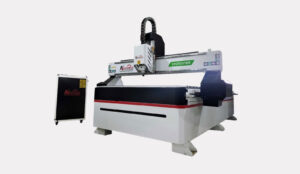
- CNC Router Machines
- Woodworking Cold Press
Related Reading on the Kataria Tech Zone Blog
- Essential Features of Modern CNC Woodworking Machines
- How Does a Hydraulic Cold Press Machine Work?
- How Do Vertical and Horizontal Panel Saws Differ in Operation and Space Usage
- What Specific Features of Panel Saws Boost Cutting Speed and Accuracy
- Visit the Kataria Tech Zone Blog
Have a specific defect you can’t diagnose? Reach out to the Kataria Tech Zone team at +91-9878832923 or through our contact page — we support customers with setup, calibration, and machine selection across India.
Word count: ~2,020 words
SEO & Publishing Notes (remove before publishing, or keep as internal notes)
- Primary keyword “automatic edge banding machine setup” appears in the title, H1, URL slug, meta description, and first 100 words — good for on-page SEO signal without keyword stuffing.
- Secondary keywords (“glue line gaps,” “rough cut edge banding fix,” “edge bander troubleshooting”) are distributed naturally across H2/H3 headers, which also makes this content well-structured for Google’s featured snippets and “People Also Ask” boxes.
- FAQ section is formatted for FAQ schema markup — if your WordPress SEO plugin (Yoast/RankMath) supports schema blocks, wrap this section in FAQPage schema for rich snippet eligibility.
- Internal links point to real product, category, and blog URLs on katariatechzone.com — this distributes page authority and keeps users on-site longer (a positive ranking signal).
- Suggested image alt text: “automatic edge banding machine glue application,” “edge bander pressure roller close-up,” “rough vs clean edge banding trim comparison” — add real photos of your machines at these points for both SEO and conversion.
- Suggested internal anchor text variation: avoid repeating “edge banding machine” as anchor text on every link — vary with “fully automatic edge banding machine,” “our edge banders,” “edge banding machine range,” etc., which this draft already does.