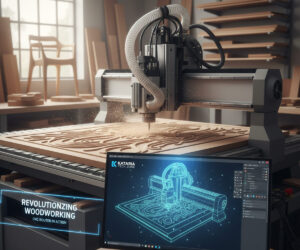
Welcome to the Kataria Tech Zone blog!
The world of CNC (Computer Numerical Control) can seem intimidating at first, full of jargon like G-code, feeds, and speeds. However, for a beginner in woodworking, a CNC router is one of the most rewarding tools you can introduce to your shop. It’s an investment in precision and capacity.
If you’re ready to move from traditional tools to automated perfection, this beginner’s guide will walk you through the essential steps and concepts to get your first cuts right.
1. Understanding the Core CNC Workflow
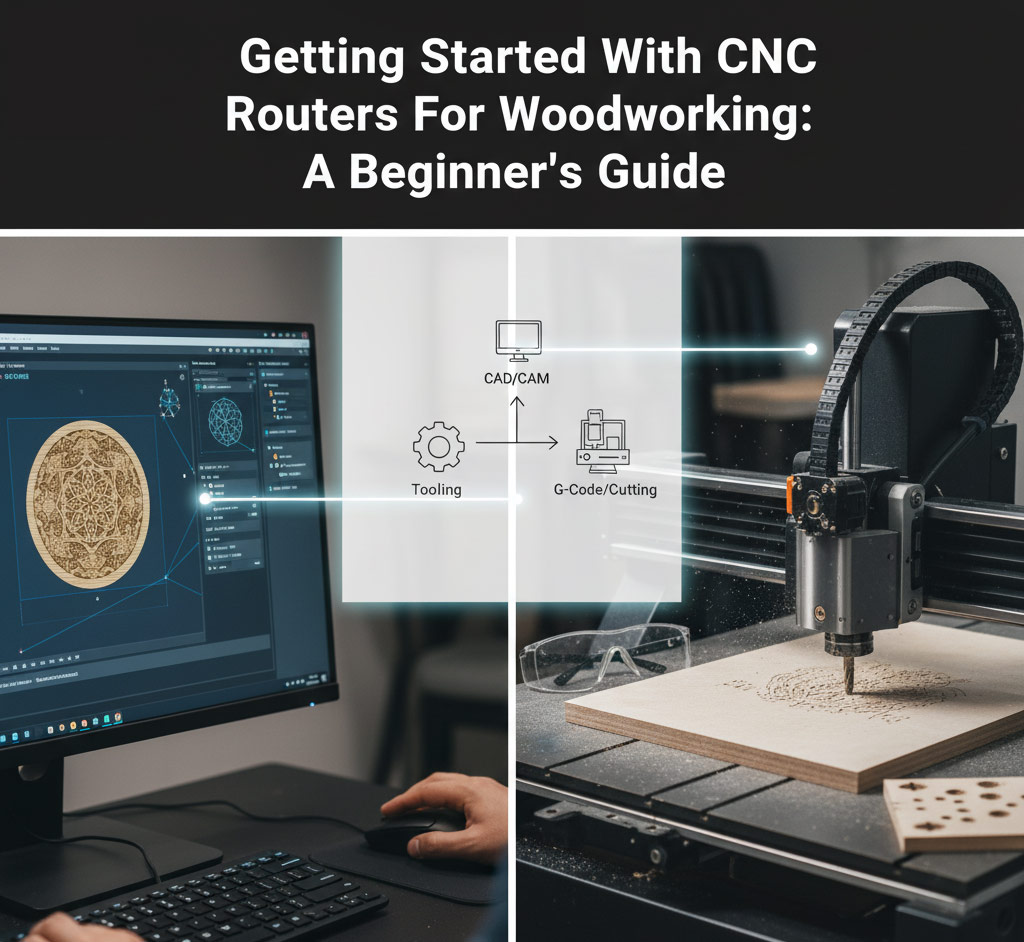
Before you even plug in the machine, you need to understand the fundamental process that every CNC job follows. It’s a three-step dance known as the CAD/CAM/G-Code process:
- CAD (Computer-Aided Design): This is where you create your design. You draw the part, define the dimensions, and visualize the final product.
- Beginner Software Recommendation: Tools like Easel (very user-friendly and all-in-one), VCarve Desktop (a popular, powerful step-up), or Fusion 360 (free for hobbyists, great for 3D) are excellent starting points.
- CAM (Computer-Aided Manufacturing): This is the crucial step where you tell the software how to cut the design. You define the toolpaths (the route the cutter will take), select the cutting bits, and set the Feeds and Speeds (how fast the tool moves and rotates).
- G-Code: The CAM software translates your toolpaths into a plain text file of instructions (G-Code). This code is what the CNC machine’s controller reads to tell the motors exactly where and how to move.
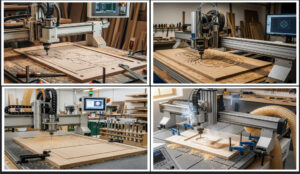
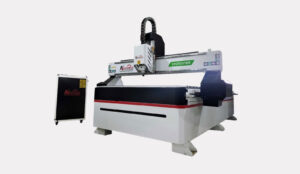
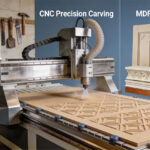
2. Choosing Your First CNC Router
As a beginner, don’t overspend on the largest, most industrial model. Focus on a machine that is robust but manageable.
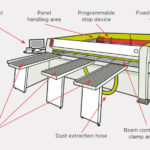
- Size (Working Area): If you mainly do small signs, decorative items, or furniture components, a desktop or a smaller 2ft x 3ft machine might be enough. If you plan on working with full sheets of plywood (4ft x 8ft), you will need a full-scale industrial model.
- Spindle vs. Router: Hobbyist machines often use a standard trim router (like a DeWalt DWP611). Professional machines use a dedicated Spindle. Spindles are more powerful, quieter, and designed for continuous, long-duration use.
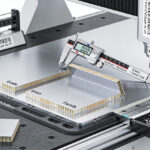
- Rigidity: Look for a sturdy frame (steel or thick aluminum). A heavy, rigid machine minimizes vibration, which is essential for achieving a smooth, precise cut.
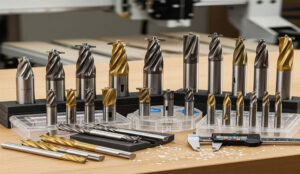
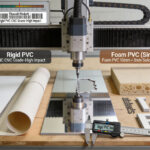
3. Essential Tools and Accessories
You only need a few bits to start, but they must be the right ones.
| Essential Tool | Purpose | Tip for Beginners |
| Up-Cut End Mill (1/4″ or 1/8″) | General cutting, profiling, and pocketing. Chips are pulled up and out. | The best all-rounder for most wood projects. |
| Down-Cut End Mill | Great for cutting sheet goods (plywood) where you want a clean top edge. | Pushes chips down, helping to hold thin material flat. |
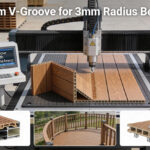
| V-Bit (60° or 90°) | Engraving, V-Carving, and creating signs with sharp corners. | Essential for popular sign-making projects and deep detailing. |
| Surfacing Bit (Fly Cutter) | Used to flatten the machine’s spoil board to ensure it is perfectly level with the cutter. | Critical for ensuring consistent depth across your entire work area. |
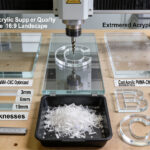
Pro Tip on Materials: Do not start with expensive wood! Begin with affordable materials like MDF (Medium-Density Fiberboard) or cheap plywood. You will make mistakes as you learn the software and machine settings, and it’s better to mess up cheap material.
4. The Golden Rule: Feeds and Speeds
This is the most common hurdle for beginners. Feeds and Speeds control the quality of your cut and the life of your bit.
- Feed Rate: How fast the cutting bit moves through the material (e.g., inches per minute – IPM).
- Spindle Speed: How fast the bit spins (e.g., Revolutions Per Minute – RPM).
The key is Chip Load: The right combination of Feed Rate and Spindle Speed produces a good-sized chip, which whisks away heat. Too fast a feed or too slow an RPM creates tiny dust (rubbing heat), which quickly dulls your bit or burns the wood. Too slow a feed or too fast an RPM will also burn the wood.
- Kataria Tech Zone Advice: Start by using conservative settings recommended by the bit manufacturer or a reputable CNC community. Never assume settings. Always do test cuts.
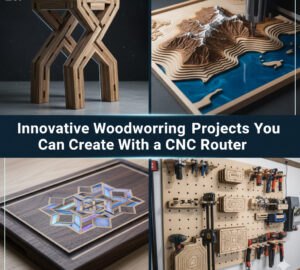
5. Your First Projects: Walk Before You Run
Keep your first few projects simple to build confidence and understand the machine.
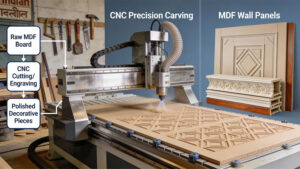
- CNC Coasters: Simple circles or squares with a shallow engraved design (V-Carving). Excellent for learning toolpath setup and material workholding.
- Simple Engraved Signage: A basic quote or name on a board. Great for mastering the V-Bit.
- Holes and Pockets in MDF: Practice precision drilling and pocketing to verify your machine’s accuracy before moving to expensive materials.
At Kataria Tech Zone, we’re committed to helping you navigate the learning curve. Are you interested in a guide on setting up your first project file in a popular beginner CAD/CAM software like VCarve?